Microsoft releases Windows 11 updates to improve reliability and fix bugs in the software. Sometimes, things can go south, and you might experience lag everywhere in the system. Before ditching your perfect setup, use the troubleshooting tricks below and enjoy speed improvements.
1. Disable Startup Apps
After Windows 11 update, Microsoft might have enabled system apps to start at login. You might notice Microsoft Edge or OneDrive starting at launch, even when you don’t prefer them. You need to check and disable irrelevant startup apps from settings. Step 1: Open Windows 11 Settings menu (use Windows + I keys) and select Apps from the left sidebar.
Step 2: Select the Startup menu.
Step 3: Check Startup apps and their impact on the system. Step 4: Disable unnecessary apps and services at login.
From now on, Windows will start without any services or apps bogging it down in the background.
2. Remove Unwanted Apps
Some third-party apps might develop incompatibility with the shiny new OS on your computer. These apps might stop responding or start crashing on your PC. You need to update these apps or remove them (if no longer needed). Step 1: Launch Windows 11 Settings menu and go to Apps section from the left section.
Step 2: Select Apps & features.
Step 3: Find an app you don’t need and select a three-dot menu beside it.
Step 4: Click on Uninstall and confirm your decision.
3. Free Up Storage
When dealing with little to no storage on your PC, you will notice a lag in day-to-day tasks. Windows 11 comes with a dedicated storage manager to use. Here’s how you can use it and get back some precious storage. Step 1: Press Windows key + I to launch the Settings. On the System tab on the left column, select Storage from the right pane.
Step 2: Check temporary files and remove them from the following menu.
You can enable the Storage sense toggle to automatically free up space, delete temporary files, and manage locally available cloud content from the same Storage menu.
Note: Always keep a decent amount of storage free before downloading any major OS update.
4. Download Optional Updates
When you install a Windows 11 update on your computer, it will skip optional updates. If you notice lag after the successful update, you’ll need to install those optional updates. Step 1: Press the Windows key + I to open the Settings and go to Windows Update.
Step 2: Select Advanced options.
Step 3: Check Optional updates in the Additional options menu.
Step 4: Checkmark all pending driver updates and hit the Download & install button.
Start using your Windows computer, and you shouldn’t notice the lag in daily use.
5. Run System Diagnostics
If there is a hardware failure on your computer after Windows 11 update, you will notice lag and the computer experience will feel like a drag. Your PC does come with built-in software to diagnose the system. At least a select laptop and desktop makers pack dedicated hardware diagnostics apps. If your computer doesn’t have it, you may skip this solution. Note: We will use steps for an HP laptop. The same might differ on your PC. Step 1: Open HP Support Assistant app.
Step 2: Select Run hardware diagnostics from the home menu.
Step 3: Click on Component Tests from the left sidebar. Step 4: Enable the checkmark beside all components and select the Run once button.
Similarly, you can run system tests to ensure that the main components are functioning properly.
6. Check PC Temperature
If your computer is running at a high temperature after Windows 11 update, you will see system lag here and there. Refer our dedicated on how to reduce CPU temperature on a PC. You can check it out, take the required steps to bring down the heat, and try using the computer again.
7. Go Back to the Previous OS Version
Do you still notice lag after performing all the steps above? Microsoft may have released a buggy Windows 11 update. You have an option to roll back the Windows version on your computer. Step 1: Press Windows key + I to open Settings app and select System from the left sidebar.
Step 2: Scroll down and select Recovery.
Step 3: Select the Go back button under the Recovery options menu.
Follow the on-screen instructions and start using a stable and fluid Windows build on your computer.
8. Run Windows Security Scan
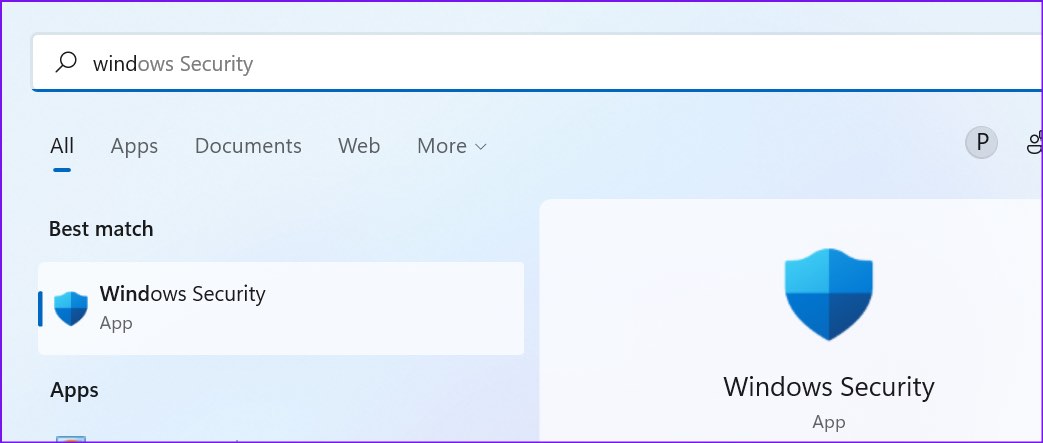
Malicious or corrupt files can be the major reason behind system slowdown. You don’t need to rely on third-party antivirus apps to find and remove such files. Microsoft’s Windows Security tool should get the work done. Step 1: Press the Windows key, search for Windows Security, and press Enter to open the app.
Step 2: Select Virus & threat protection from the left sidebar.
Step 3: Click on the Quick scan button and run the complete scan on your computer.
Once Windows Security finds and removes such files, restart the PC.
Keep Your Windows 11 PC Updated
Windows Updates arrive to improve your computing experience. However, when Windows 11 lags after an update, it is still fixable before you decide to install it all over again. Use the solutions mentioned above to speed up your Windows 11 PC in no time. And if you have found another trick, mention it in the comments below. The above article may contain affiliate links which help support Guiding Tech. However, it does not affect our editorial integrity. The content remains unbiased and authentic.


