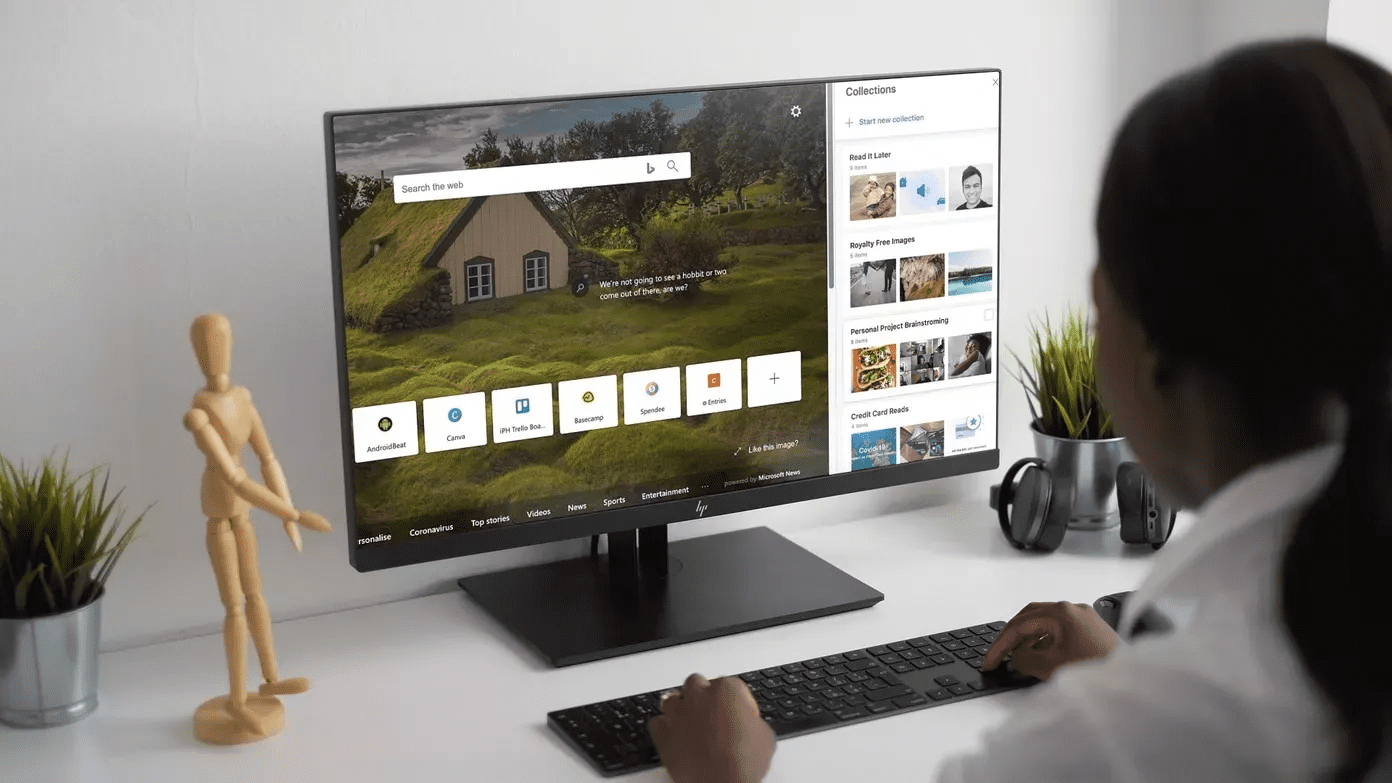
While Microsoft Edge might be secure, visiting a random or unsuspicious looking page may have planted a script or code in the background. Here’s how you can fix the hijacked Microsoft Edge on Windows 11.
1. Reset Microsoft Edge Start Page
Hijackers push affiliate links and advertisement banners after hijacking your browser. Also, it slows down the browsing experience. The steps below should help you troubleshoot the issue and gain back Microsoft Edge control on Windows 11. Step 1: Open Microsoft Edge browser. Step 2: Click on the three-dot menu and go to Settings. Step 3: Select Start, home, and new tabs from the left sidebar. Step 4: Select Open a specific page and type the web address to it.
2. Remove Edge Extensions
While browser extensions are a boon for the Edge browsing experience, they can lead to some nightmares as well. Some of the extensions you are using might be outdated or develop incompatibility with the latest Edge build on iPhone. A browser extension might be injecting ads and other malware into your Edge browsing experience. It can be difficult to point to a single extension. You need to remove or disable all the Microsoft Edge extensions from the browser. Here’s how. Step 1: Open Microsoft Edge and click on the three-dot menu in the upper right corner. Step 2: Select Extensions. Step 3: You can either disable browser extensions or tap on Remove to uninstall the extension. While you are at it, you can keep your extensions from a password manager and other well-known developers.
3. Clear Microsoft Edge Cache and History
Removing the cache, cookies, and history from Microsoft Edge can remove the remaining trackers. Here’s how to do it. Step 1: Open Microsoft Edge on Windows 11 and go to Settings. Step 2: Select Privacy, search, and services. Step 3: From the Clear browsing data, select Choose what to clear. Step 4: Select All time and click on Clear now at the bottom. Completely close Microsoft Edge and reopen the browser.
4. Remove Site Permission for Unwanted Pages
It’s a standard practice for websites to ask for notifications permission. This can be useful when you are using Gmail or WhatsApp from the web. However, you may up agreeing with pop-ups from all the websites. Some websites can trick you into agreeing to receive tons of pop-ups and ads. You need to remove such permission from the Edge Settings menu. Follow the steps below. Step 1: Open the Microsoft Edge Settings menu. Step 2: Select Cookies and site permissions from the side menu. Step 3: From the Site permission menu, select Notifications. Step 4: Click on the three-dot menu beside the website name and select Remove. Repeat the steps for all the websites and remove notifications.
5. Quickly Close Tabs
If you are trying to download unlicensed software or media files from the web, some sites may inject pop-ups and ads. You can hit Ctrl + W shortcut to quickly close the current tab on Microsoft Edge. If possible, try to download apps from the Microsoft Store in Windows 11. It has got a huge redesign and now houses some of the biggest app names.
6. Use Windows Security
Some malicious files from your computer might have hijacked Microsoft Edge on Windows 11. You should remove them using Windows Security. Click on the Windows key and search for Windows Security. Go to Virus & threat protection and run a Quick scan on your computer.
7. Use Malwarebytes
If Windows Security didn’t get the job done, you can use Malwarebytes to scan the PC. You can check Malwarebytes Personal and download it on your PC. The software removes malware, viruses, and other threats from your device in seconds and stops future infections in real-time. Check out the software from the link below. Download Malwarebytes for Windows
Use Microsoft Edge on Windows 11
The steps mentioned above should help you troubleshoot the issue and gain the control back of Microsoft Edge on Windows 11. After that, be careful not to visit sketchy sites and click on suspicious links. The above article may contain affiliate links which help support Guiding Tech. However, it does not affect our editorial integrity. The content remains unbiased and authentic.


