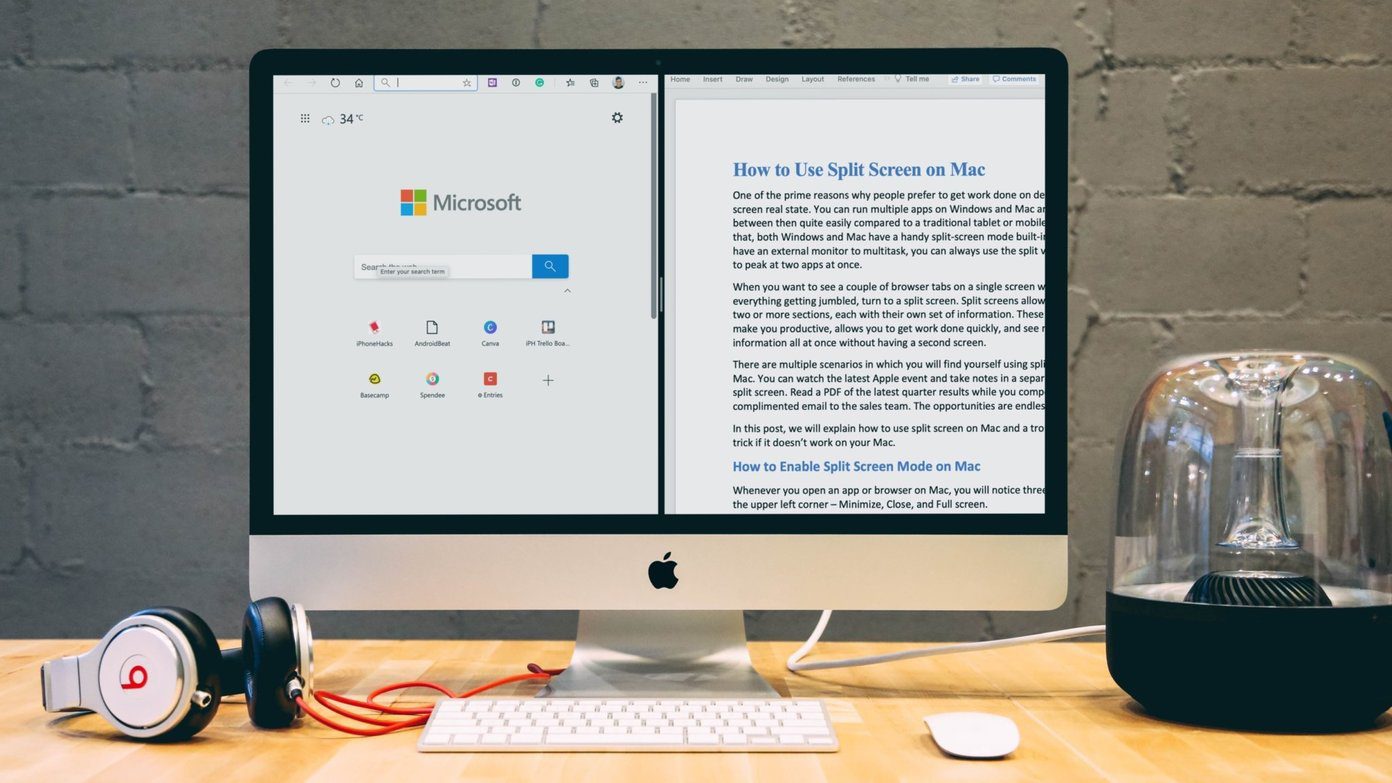
The biggest change in El Capitan is the new Mission Control and Split View. Yeah, these are just window management upgrades. But they have the potential to save you a lot of time when it comes to switching between windows and multitasking. Beginners guide to using a Mac: New around here? Check out our guide to learn all about your new Mac OS.
Preview: The New Mission Control
George has already detailed the new Mission Control in a previous article so I won’t dive deep here. The basics are the same – you get there by swiping three/four fingers up on your trackpad. But it looks different now. You won’t see thumbnails for desktops until you mouse over to the top of the screen. Another big change is that separate windows from the same apps won’t be stacked over one another. This means that if you have multiple Chrome windows open, they’ll be easier to spot.
Get to Know Split View
Split View is Apple’s take on split-screen multitasking that has existed in Windows land since Bill Gates wore those big ugly brown glasses. Yeah, it’s old. In Windows, you can easily dock two apps side by side just by dragging the window to either edge of the screen or by pressing a keyboard shortcut. But on OS X, Split View only works in full-screen mode. This means you have a distraction free environment. There are two ways to use Split View.
Split View Method 1: The Green Dot
First of all, not all apps support Split View (yet). But built in apps like Safari and even Chrome do. Because you’re doing this the first time, try it out with Safari. In the app window, click and hold the green Maximize button. The window will now be the focus point and you’ll be asked to either dock it to the left or right side of the screen. That part of the screen will be highlighted using a blue color. Pick a side and release the click. In the empty side, you’ll see a selection of available windows. Just click on any of the window to dock it on the other side of the screen. If a window is grayed out, that means it doesn’t support the Split View. Once you select the second app, you’ll enter the full-screen mode and OS X will create a whole new desktop just for these two apps. It will be shown in the Mission Control. Between two apps you’ll see a gray separator. You can click and move it around to resize the windows. Some apps only allow for a 50/50 split. Some can be resized down to 25%. You can also resize windows anywhere in between.
If you learn better visually, check out the GIF below.
Split View Method 2 : The Drop
If you already have one window full screen and you want to add a window in there to go split screen, use this method. First of all, you’ll need to enter Mission Control. You can get there by swiping up three fingers. Then select the window in question and drag it to the top, find the full-screen app and drop it in there.
A faster way to do this would be to click and hold the title bar of a window and drag it to the top of the screen. In a couple of seconds, you’ll enter Mission Control. Now drop that window in a full-screen app.
When It’s Not Enough
Apple’s take on split-screen multitasking is surely.. unique. But if you’re used to how things work in Windows land, we have a solution for you. All it takes is downloading a tool like BetterTouchTool or Spectacle. I’ve detailed how to use these apps in a previous guide. Now it’s your turn. Do you think you’ll use Split View often? Do you think it’s easy or intuitive to use? Share with us in our forum. The above article may contain affiliate links which help support Guiding Tech. However, it does not affect our editorial integrity. The content remains unbiased and authentic.


