While you can auto-forward all emails, you can also choose to auto-forward specific emails if that’s your requirement. There is a tweak on Gmail that lets you forward specific emails based on the criteria that you provide. We’ll show you how to do that too. But first, let’s add the new forwarding address where Gmail will send auto-forward your mails. Note: This is only available on the web version of Gmail. You can’t do this on the Android and iPhone apps.
How to Add a Forwarding Address to Your Gmail Account
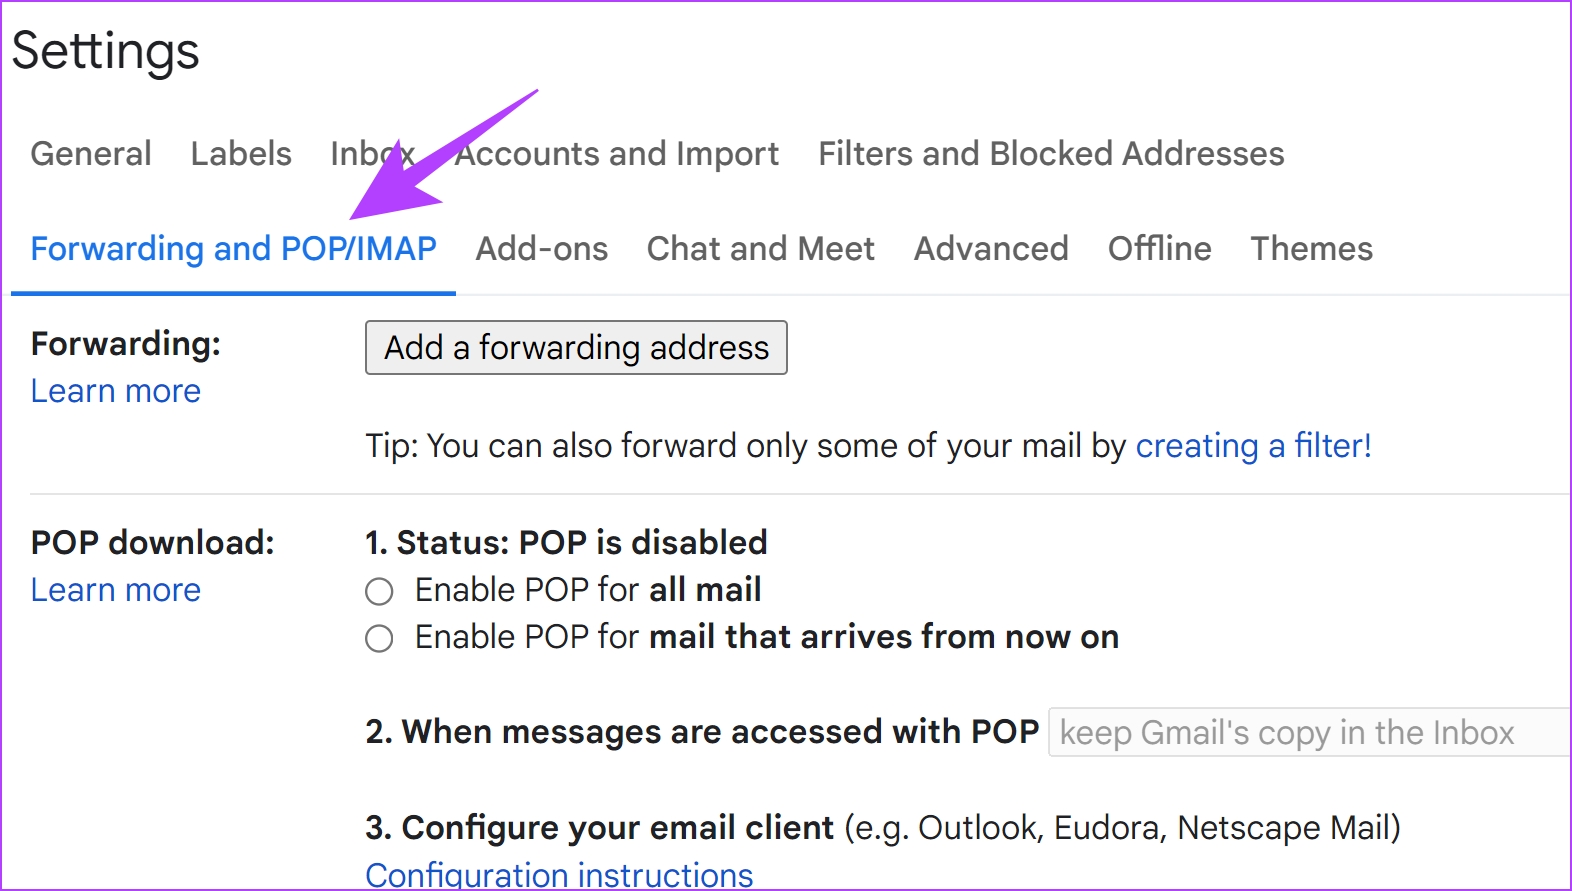
Whether you want to forward all emails or just specific emails, you need to first specify the address of the mailbox to which you want your emails to be forwarded. Here’s how to do it. Step 1: Firstly, click on the Settings icon and select ‘See all settings’. Step 2: Select ‘Forwarding and POP/IMAP’. Step 3: Click on ‘Add a forwarding address’. Step 4: Enter the destination email, and click on Next. Step 5: Now, click on Proceed. You will now receive a verification email to the address which you added for forwarding. Click on the link in the email, which will open a confirmation window. Step 6: Lastly, you need to click on Confirm to add the email address. This is how you can add an email address to auto-forward emails on Gmail. Next, we’ll get into how to auto-forward all incoming emails on Gmail.
How to Automatically Forward Emails From Gmail to Another Account
While we are aware of manually forwarding individual or multiple emails on Gmail, Gmail also offers an automatic email forwarding feature for all new and incoming emails to another email account. Here’s how you can enable it. However, you must keep in mind that only new and incoming emails after you configure this feature will be forwarded to the selected address. Emails received in the past will not be forwarded. Step 1: Click on the Settings icon and select ‘See all settings’. Step 2: Select ‘Forwarding and POP/IMAP’. Step 3: Check the box for ‘Forward a copy of incoming mail to’, and select the email from the dropdown menu. Step 2: In the second dropdown menu, you get to select how you want the forwarded emails to appear in your current mailbox, from which you are forwarding emails. Once you select the preferred action, you are all set to forward all incoming mail to the new email address you provided. However, if you want to auto-forward only specific emails, here’s how you can do it.
How to Set Up Auto-Forward in Gmail for Specific Emails
Suppose you receive emails from both work and family in the same inbox. This can give you a hard time sorting emails, and you’d want to create a new email address just for family and friends. However, sharing your new email with everyone is a difficult task too. Hence, you can use a filter to auto-forward specific emails – say, only forward emails sent by your friends and family to your new email address. Here’s how you can create a filter to auto-forward specific emails on Gmail. Note: You can only forward emails to a single account. Gmail doesn’t allow you to forward the same mail to multiple email addresses. Hence, you can create multiple filters for different keywords to send emails to different addresses. Step 1: Click on the Settings icon and select ‘See all settings’. Step 2: Open the ‘Filters and Blocked Addresses’ tab. Step 3: Click on ‘Create a new filter’. You will now get a list of filter criteria and parameters. Step 4: Fill in the fields to create a filter. Here’s what you need to know about the filter.
From Address: Emails sent by a specific address, which is entered in the filter. To Address: Emails sent to a specific address, which is entered in the filter. Subject: Emails with the subject matching the entry in the filter. Has the words: Emails with words matching the entry made in the filter. Doesn’t have: Emails that do not have the words matching the entry made in the filter.
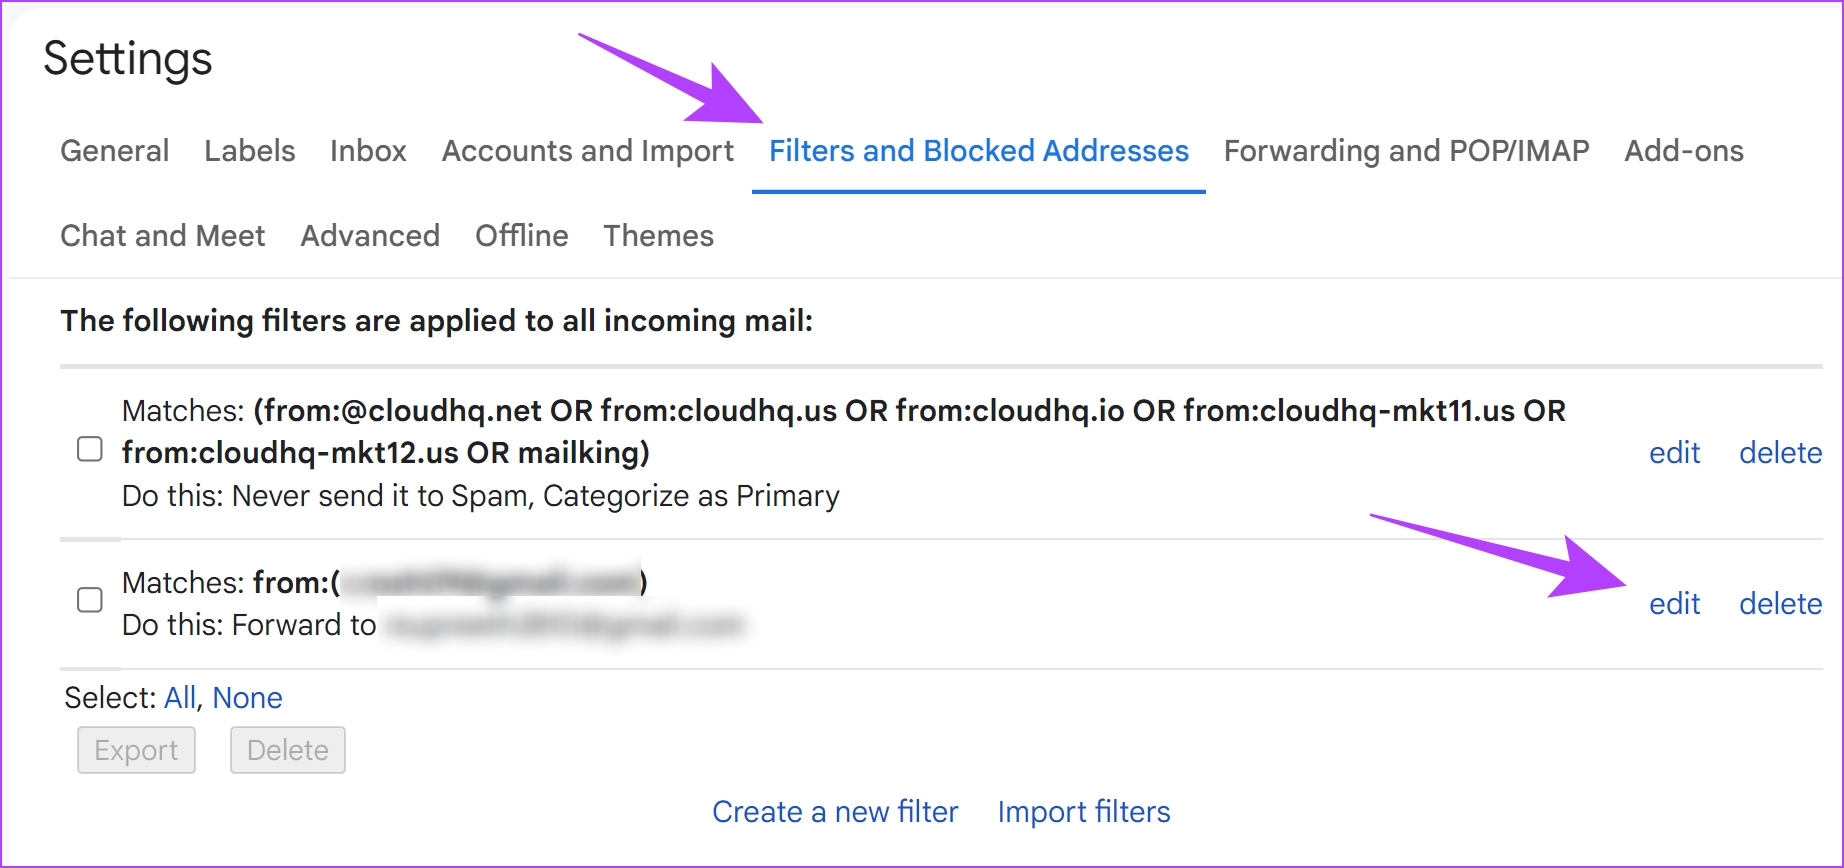
Based on the details that you enter, the emails matching the criteria will be forwarded. Step 5: Once you fill in the details, click on Create Filter. Step 6: Now, check the box for ‘Forward it to’ and choose an address from the dropdown box next to it to which you want the email to be forwarded. Step 7: Once you select the email address, click on Create Filter. Once you create a filter, you will receive a notice in the form of a banner, on top of your mailbox, which gives you a chance to revisit and review your forwarding settings. Step 8: If you want to edit the settings and criteria in the filter, you can visit the ‘Filters and Blocked Addresses’ tab, and click on the edit button next to the filter you created. This is how you can forward specific emails on Gmail. However, if you want to disable the auto-forward service, move on to the next section.
How to Disable Auto-Forward Emails on Gmail
If you want to stop auto-forwarding emails from your account, here’s what you need to do.
Disable Auto-Forward for All Incoming Mails
Step 1: Click on the Settings icon and select ‘See all settings’. Step 2: Open the ‘Forwarding and POP/IMAP’ tab, and check the box for Disable forwarding. However, if you want to delete the email address that you added, you can click on the dropdown menu of the email address, and select the remove option. This will also automatically stop the forwarding service enabled by the filter associated with this email. If you want to delete and disable the auto-forward service of specific emails, read the next section.
Disable Auto-Forward for Specific Emails in Gmail
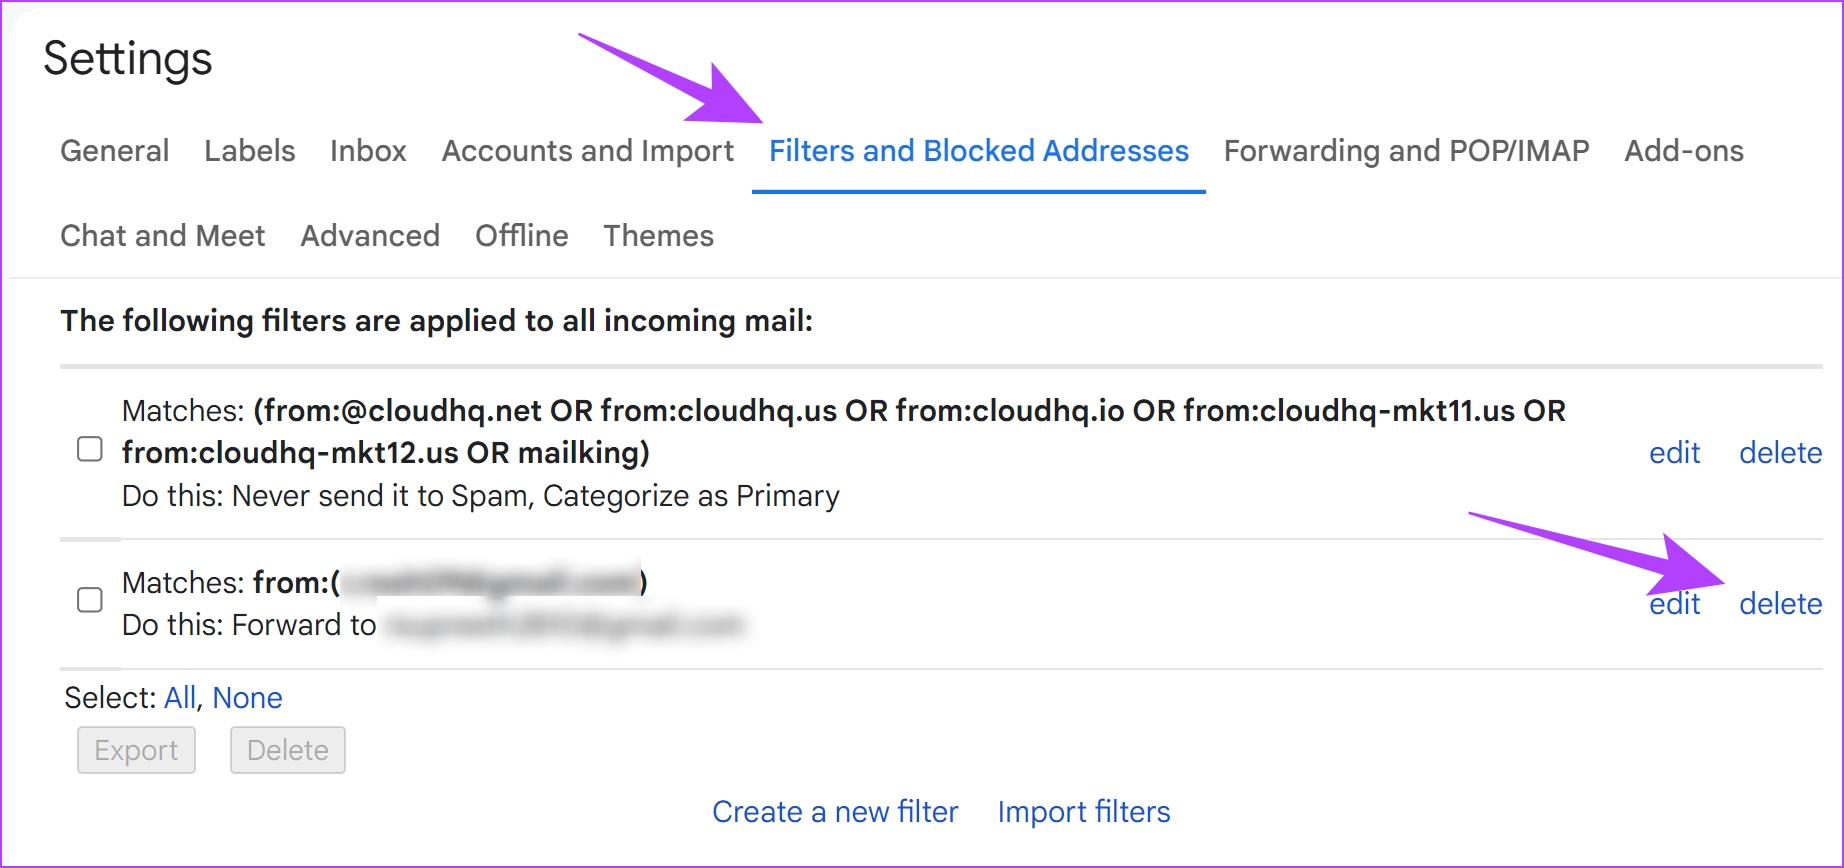
Step 1: Firstly, click on the Settings icon and select ‘See all settings’. Step 2: Open the ‘Filters and Blocked Addresses’ tab. Step 3: You will find a list of all the created filters. Step 4: Lastly, you need to click on the delete button next to the filter to delete it. It will stop auto-forwarding specific emails.
Auto-Forward Emails on Gmail With Ease
This is all you need to know about auto-forwarding emails on Gmail. We hope this article helped you discover a new feature on Gmail and improved your productivity. In a day where we receive emails from every service that we signed up for, tools like these are always appreciated, and will certainly help you keep your inbox clean. The above article may contain affiliate links which help support Guiding Tech. However, it does not affect our editorial integrity. The content remains unbiased and authentic.